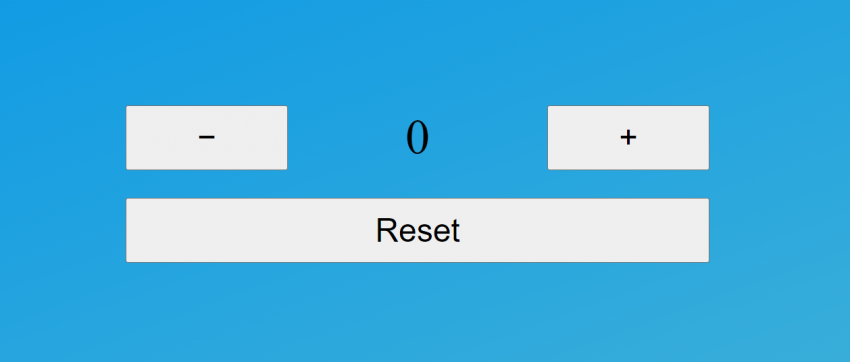
In this tutorial, we will look at creating a basic JavaScript counter. This counter will have buttons for increasing and decreasing the counter number, as well as a button for resetting the counter number down to zero. The end result will look like the above image.
To begin, let’s create a couple of files: index.html, index.js and styles.css
Let’s open index.html and paste some basic HTML in there.
<!DOCTYPE html>
<html lang="en">
<head>
    <meta charset="UTF-8">
    <meta http-equiv="X-UA-Compatible" content="IE=edge">
    <meta name="viewport" content="width=device-width, initial-scale=1.0">
    <title>Counter Example</title>
    <link rel="stylesheet" href="styles.css">
    <script src="index.js" defer></script>
</head>
<body>
    <div class="container">
        <div class="counterCont">
            <button class="decrease">−</button>
            <span class="counter">0</span>
            <button class="increase">+</button>
        </div>
        <div class="resetCont">
            <button class="reset">Reset</button>
        </div>
    </div>
</body>
</html>
This HTML can be found in the GitHub repo.
Next, open up styles.css and paste the css in. This is for styling and does not really affect the main concept of this tutorial so we wont’ go through the css.
This css can be found in the GitHub repo.
Now let’s get to the good stuff! Open up index.js and start by adding the following lines to the top of the file:
const decBtn = document.querySelector('.decrease');
const incBtn = document.querySelector('.increase');
const resetBtn = document.querySelector('.reset');
const counterSpan = document.querySelector('.counter');
These four lines simply grab a reference to the decrease, increase, and reset buttons, as well as the span that contains the counter text so that we can use them all in our code.
Next we will add a few more lines to index.js:
decBtn.addEventListener('click', e => {
    let counterText = parseInt(counterSpan.textContent);
    counterText--;
    counterSpan.textContent = counterText;
});
This may look scary, but let’s break down the code and it will be easy in no time!decBtn.addEventListener() is a function on the decBtn reference from earlier, that adds a type of event listener to it. So when the decrease button is clicked, we will do something.
The addEventListener() function takes an event type, defined as ‘click’ here, and a callback function to perform our tasks when the event fires.
Next, let counterText = parseInt(counterSpan.textContent); grabs the text content from the span that holds our counter number, and ensures it is formatted as an integer, so that we can add and subtract from it.
Now, counterText–; simply subtracts one from the current number in our span.
Finally, counterSpan.textContent = counterText; sets the span’s text content to the new number.
Now that we understand the decrease button’s event listner, we can simply add one for the increase button, which will be all but the same. The difference will be counterText++; rather than counterText–;
incBtn.addEventListener('click', e => {
    let counterText = parseInt(counterSpan.textContent);
    counterText++;
    counterSpan.textContent = counterText;
});
Finally, we will add an event listener for when you click on the reset button.
resetBtn.addEventListener('click', e => {
    counterSpan.textContent = 0;
});
All we do here, is set the text content of the span containing the counter number to zero when the button is clicked.The Final code can be viewed in the GitHub repo.
That’s it! You now have a functioning simple JavaScript counter! But you don’t have to stop there! You could customize the css to make it look different. Or you could add some additional functionality, like incrementing by 5 or 10 even.
If you customized this, I would love to see it! Link me to your code down in the comments below.
